The Project - modify the TracPort Dash 350 so it sits parallel to the grabrail on the Hobie rather than at 90 degrees
Please note: the modifications that are described below are my own idea, not that of Railblaza and if something does go wrong, well I'm totally too blame!)
The Challenge.
When fitting the starports on the grabrails on the Hobie (you can see this on a previos blog) I came across a few hurdles. Firstly I should have ordered the Railmount 32-41 but I ordered the 19-25 which was a pretty tight fit and I had to make some adjustments (I'm sure they could have been swapped but I was too impatient and impulsive to get them fitted).
My Goal.
My main goal was I wanted the TracPort Dash 350 to be parallel to the grabrail and not 90 degrees to it (if you fit it correctly with the black support bracket in the screw holes it can only go 90 degrees. (this applies to the grabrail only). While this isn't a problem and is still very functional I was after a different result.
The Plan.
So this is how I went about it, I'm sure there is probably an easier way but hey there's no fun in that....
Firstly I needed to be able to get the fittings 90 degrees to what they are. So I thought "why not use the supplied starport base that comes with the starports", but there were a few things I needed adjust if this was to be achieved.
One was to drill out the base plate so the countersunk bolts would not protrude above the lip of the baseplate, this was achieved by drilling them out a touch being very careful that I don't go too far.
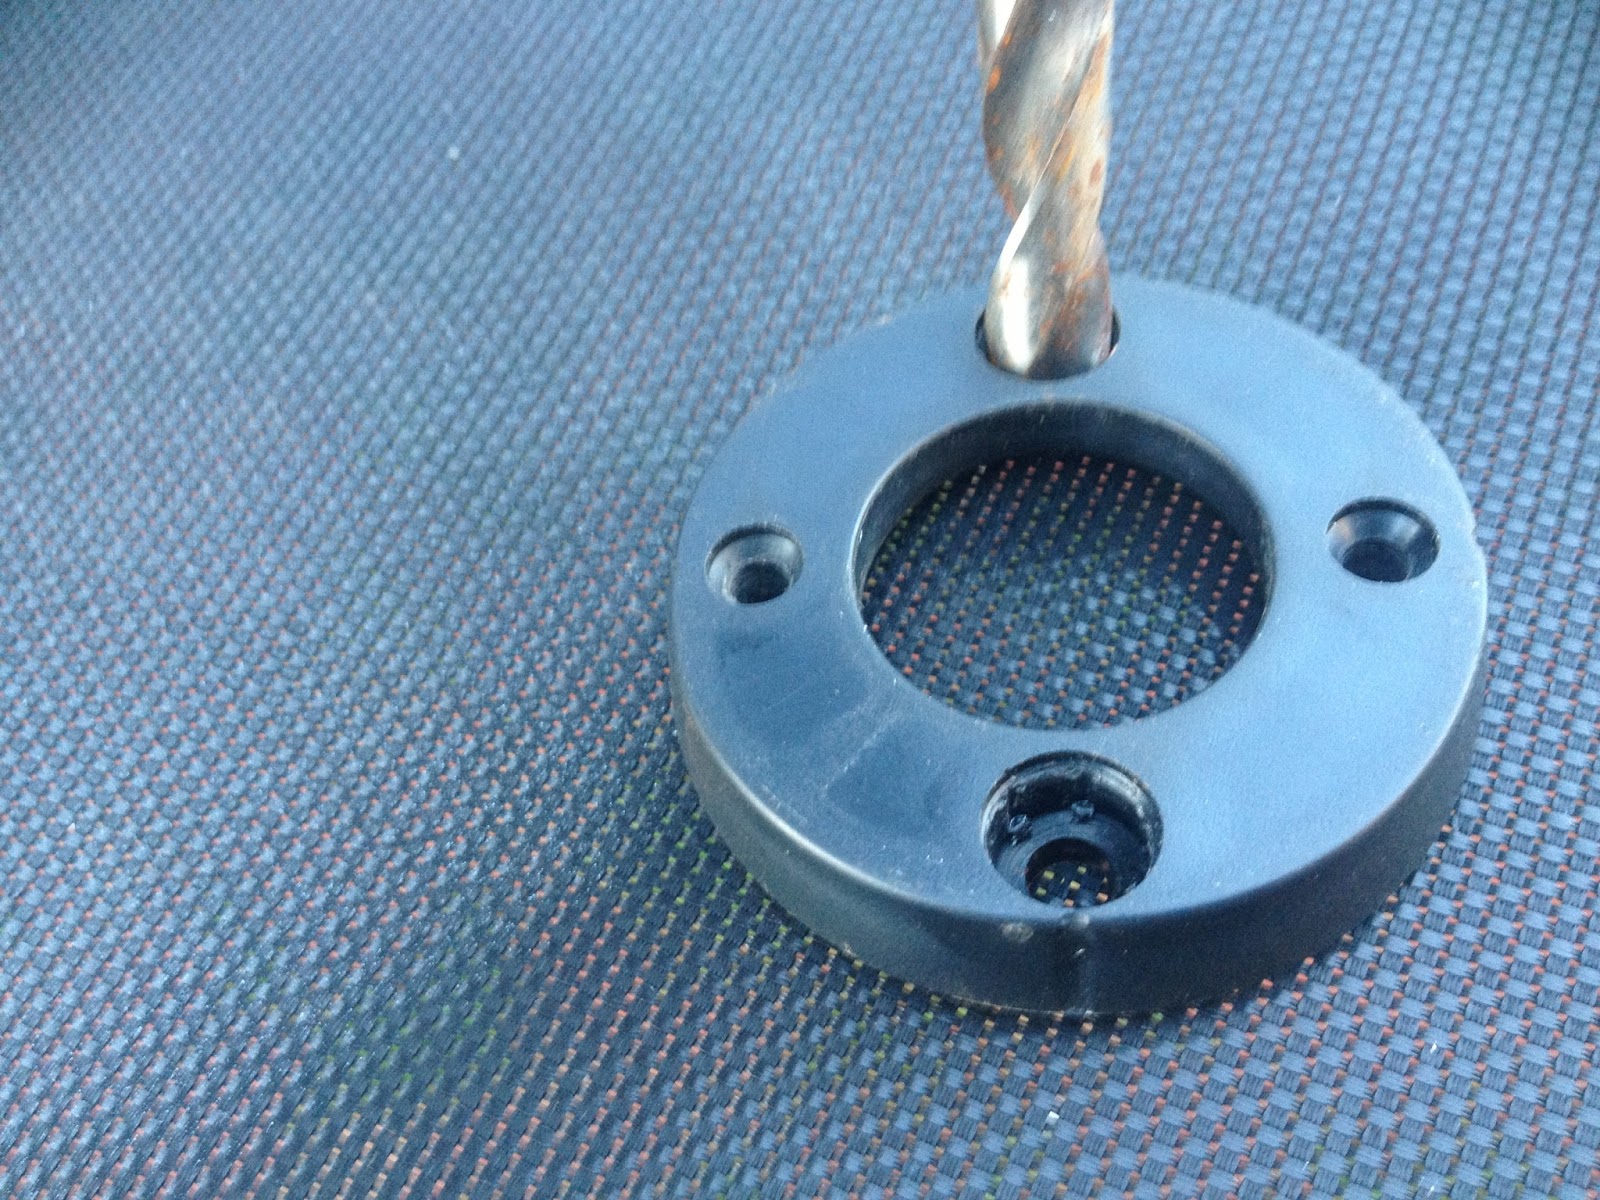 |
Drilling out the holes so they can be countersunk, be careful not to go to deep, slowly does it.
|
The next step was to insert the 2 bolts (purchased separately) into the deepened holes.
I then had to drill out part of the back of the mount to allow for the bolt to fit (unfortunately not a very neat job)
 |
Unfortunately not a very neat job but achieved the purpose. A file might have been a better option.
|
 |
Underneath of starport showing nuts (unfortunately 1 is imperial the other metric hence the different size nut, I will fix this (did I mention I was impulsive?) also shows the drilled out plate to accommodate the nuts.
|
 |
Starport bolted into place, I used a countersunk screw and washer as that's all I had left
(as I said, I am impulsive and needed it done then) could have used M6 screws and nuts.
|
The next step was to slide the top section of the railmount into position and place on the rail, apply the supplied sticky strip to the surface first to give good adhesion, I also used the supplied rubber fitting.
 |
Top section of rail mount in position, ready to go on the rail.
|
 |
In position.
|
Then slightly angle the fitting so the baseplate can be pushed on easily.
 |
Grommet pushed into place and the nut screwed down.
|
 |
Showing the rubber grommet used to "fill" the recessed cavity that fits a nut, If I didn't do this there is no way to tighten it as the head of the bolt is hidden. You could use just a larger washer but this works well
|
Once the two nuts were tightened there wasn't any movement from the railmount.
The support bracket fits into the screw lugs as normal to give extra stability.
 |
Underneath of the tracport 350 showing the support bracket fitting into the starport screw "cutouts".
This gives it the stability needed.
|
The top view.
 |
Mission accomplished, parallel TracPort.
|
 | ||||||
this shows the TracPort Dash 350 in use: phone and rod holder within easy reach. Also shows the location of the other starports.
Products featured:
You can check out the products videos etc at http://www.railblaza.com
*product images taken from Railblaza catalogue - download here: http://www.railblaza.com/uploads/Products/RB%20Cat%202013%20Catalogue%20Web.pdf
|


No comments:
Post a Comment